Continue from part 1, we need to import the captured reference image for the deployment later.
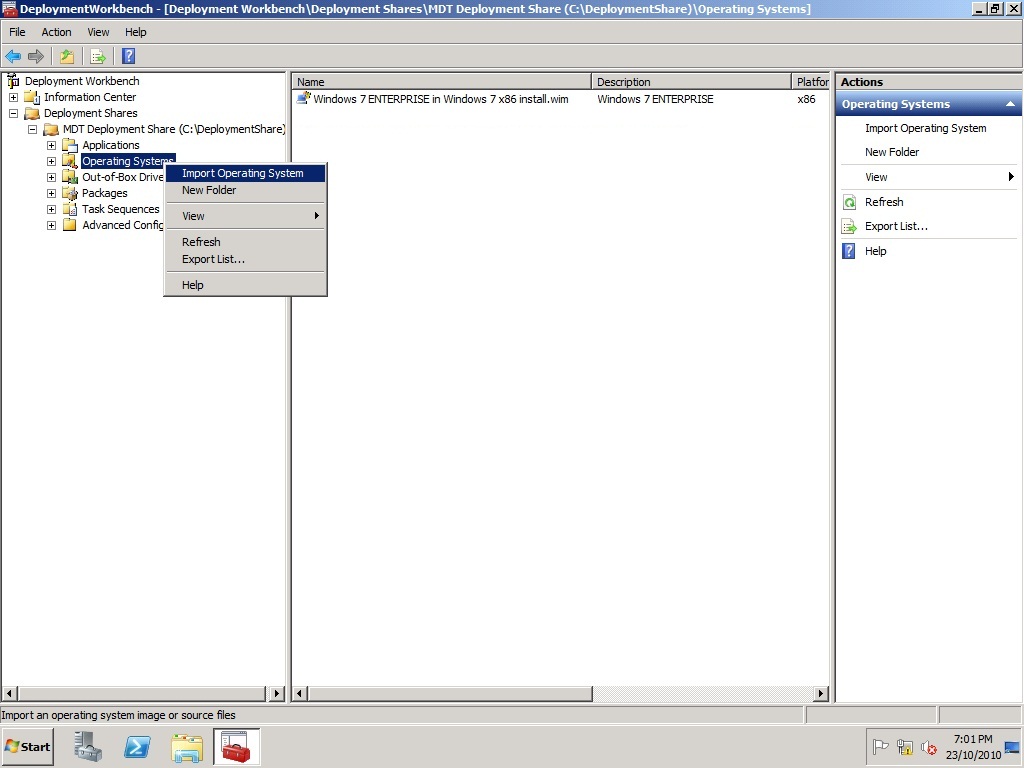


*If you tick the box below, it will move your captured image instead of copying, it's your choice.


Now you have already imported the captured reference image. Next, you'll need to create a new task sequence to perform the deployment.


You have just created a task sequence for the deployment. Next, you will need to modify some of the rules in Deployment Share to make the deployment simpler.


Please copy the rules below and replace the existing rules. Click Edit Bootstrap.ini
*You might want to modify the red coloured rules
[Settings]
Priority=Default
Properties=MyCustomProperty
[Default]
OSInstall=YES
SkipAdminPassword=YES
SkipApplications=YES
SkipAppsOnUpgrade=YES
SkipBDDWelcome=YES
SkipBitLocker=YES
SkipCapture=YES
SkipComputerName=NO
SkipComputerBackup=NO
ComputerBackupLocation=AUTO
SkipDeploymentType=NO
SkipDomainMembership=YES
JoinDomain=TESTING
DomainAdmin=Administrator
DomainAdminDomain=TESTING
DomainAdminPassword=P@ssw0rd
SkipFinalSummary=NO
SkipLocaleSelection=YES
KeyboardLocale=en-US
UserLocale=en-US
UILanguage=en-US
SkipPackageDisplay=YES
SkipProductKey=YES
SkipSummary=NO
SkipTaskSequence=NO
SkipTimeZone=YES
TimeZone=215
TimeZoneName=Singapore Standard Time
SkipUserData=NO
UserDataLocation=AUTO
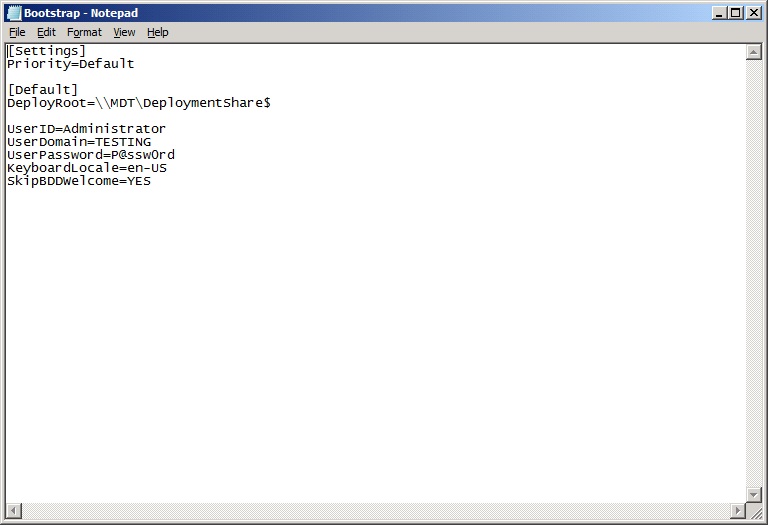
*You might want to modify the red coloured rules
[Settings]
Priority=Default
[Default]
DeployRoot=\\MDT\DeploymentShare$
UserID=Administrator
UserDomain=TESTING
UserPassword=P@ssw0rd
KeyboardLocale=en-US
SkipBDDWelcome=YES
After you completed the modification, remember to update the Deployment Share.
Right click on Deployment Share annd select Update Deployment Share


You have done all the necessary in the MDT side. Next, you'll need to run the LiteTouch.wsf script on the XP machine that you wish to migrate to Windows 7.


As you can see, the picture in My Picture and the Paint shortcut were migrated too. This shows that the migration and USMT is working fine. And finally, this comes to the end of XP to Windows 7 Migration.


