Continuing from
Part 1, Part 2 will be focus on the server installation and configuration. Most of the configuration will be done on the Web Server (IIS). Before we start, please make sure that you done all the prerequisites shown in
Part 1.
We’ll start with the Med-V server installation, double click the Med-V Server.msi.
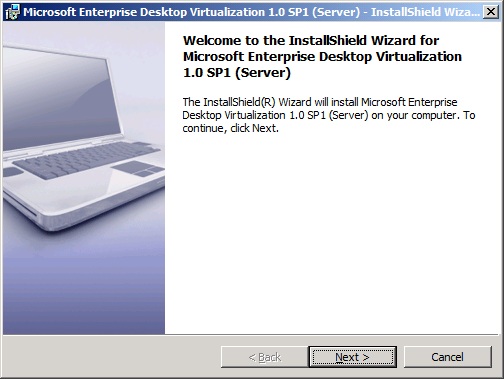
Click Next on the Welcome screen
Accept the terms in the license agreement, and then click Next
Accept the default destination folder location and then click Next. You may change the location by clicking the Change button.
Click Install to proceed the installation
After the installation completed, un-tick the Launch MED-V Server Configuration Manager and Click Finish.
That’s all, the MED-V Server has been successfully installed. Now, we’ll proceed to the configuration.
Go to the Server Manager, expand Roles, expand Web Server (IIS), click Internet Information Services (IIS) Manager. Inside the IIS Manager, expand the tabs until you see the Default Web Site like picture above. Right click the Default Web Site and then click on Add Virtual Directory…
Enter the Alias and the Physical path. Click OK once you’re done
Go back to the IIS Manager and you’ll notice that a virtual directory is created after the Alias that you entered. Click on the newly created virtual directory, MEDVImages for my case. Look for MIME Types categorised under IIS, do a double click to enter.
Inside the MIME Types, click Add located under the Actions pane. You’ll need to repeat this step because there are two MIME Type needed to add.
Enter
.ckm in the File name extension, and
application/octet-stream in the MIME type.
Enter
.index in the File name extension, and
application/octet-stream in the MIME type.
Go to the IIS Manager, and click MEDVImages again. This time we need to configure the BITS Upload component located under other.
Inside the BITS Uploads, tick the Allow clients to upload files and then click Apply.
Next, Right Click the MEDVImages and select Edit Permissions…
Go to the Security tab and click Edit.
Click Add to add the appropriate groups.
In this instance, I’ll use Everyone.
Make sure that the group is granted to Read permissions.
We’ve done all the configurations needed in the Web Server (IIS), we shall proceed to MED-V Server Configuration Manager to complete the configuration. Launch the MED-V Server Configuration Manager under All Programs\MED-V.
In this instance we will use the default setting, Enable Unencrypted Connections (http), Using Port 80.
Click on the Images tab. Enter the VM Directory which is the physical path you entered during the installation, and also we configured the Web Server (IIS) to use the same directory.
As for the VMs URL, enter http://SERVERNAME/ALIAS. For instance, http://medvsvr/medvimages.
Click on the Permissions tab. You can add the preferred domain users or groups who will need permissions to manage the MED-V Management Server. I’ll accept the default, Everyone.
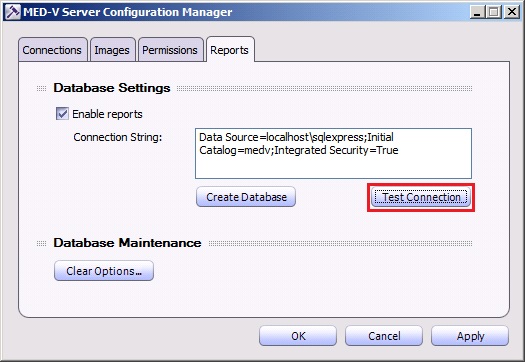
Click on the Reports tab. Click Create Database. If there is any failure due to administration rights, you may want to modify the Connection String to Data Source=localhost\sqlexpress;Initial Catalog=medv;UID=SA;PWD=P@ssw0rd. The UID is the SQL Server Administrator account while the PWD is the password.
Click OK after the database successfully created.
Click Test Connection to perform the database connection checking.
Click OK after the connection succeeded.
Click OK after you have configured all the configuration on the MED-V Server Configuration Manager. A window like above will be pop out, click Yes.
Good Job!!! You’ve successfully installed and configured the MED-V Server. The MED-V Server is now ready to host the MED-V images. =)


356AB48673
ReplyDeletekiralık hacker
hacker arıyorum
kiralık hacker
hacker arıyorum
belek
BB6A78B1ED
ReplyDeleteTakipçi Satın Al
Footer Link Satın Al
Telegram Coin Botları
Kazandırio Kodları
Rise Of Kingdoms Hediye Kodu